
Four years ago, I wrote an article detailing steps to reshape curled, misshapen, or heavily creased shoes. The basic recipe was soaking the shoes in water and then letting them dry out with shoe trees inserted. It’s been a popular article on the site.
While I have had good success with the method and used it often, it just doesn’t sound right. Dunk my expensive shoes in water? Uh…yeah. Cynicism is okay and expected from my fellow Gen-Xers. Earlier this year there was a brief discussion of shoe soaking on Reddit goodyearwelt forum with some debate on the process.
The main issue with soaking the pair is the potential for getting water marks on the upper leather if the leather was not completely saturated in the soak. When the shoes dry, a pair could have lines delineating the soaked and non-soaked areas. The fix for this? Soak them again but wait for complete saturation. I have heard of this issue from a few people. I do listen. (I know you say I don’t. But I do. Maybe I was thinking while you were talking. I am busy. Thinking. And doing such things. So much such and such. As such. With such things. And such thinking).
How did we get here? What happened to my shoe? Why is it misshapen? Your foot produces moisture (sweat), during the day. Some of this moisture gets adsorbed by the shoe leather. When you take off your pair at the end of the day (or morning if it was that kind of night), the shoes begin to dry out again. Leather often contracts while drying. Without a shoe tree (or your foot) to keep its shape, the shoe could curl or contort.
This revised process is intended to simulate a very sweaty foot and then allow the pair to dry and contract back into shape with the help of tight-fitting shoe trees. And by keeping the upper leather dry-ish, you can avoid the angst that comes with soaking the pair.
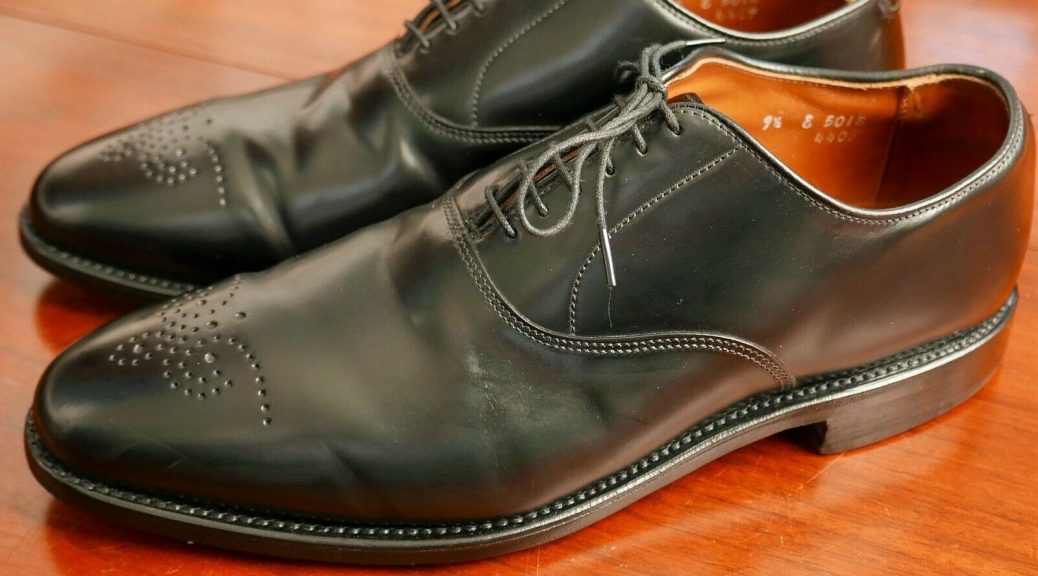
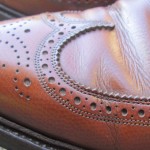
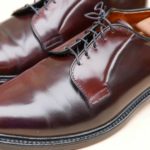
Below is a pair of Shell Cordovan shoes that I bought on Ebay. They might have been the most misshapen Shell Cordovan pair ever listed. I didn’t think it was possible to do this to Shell shoes.
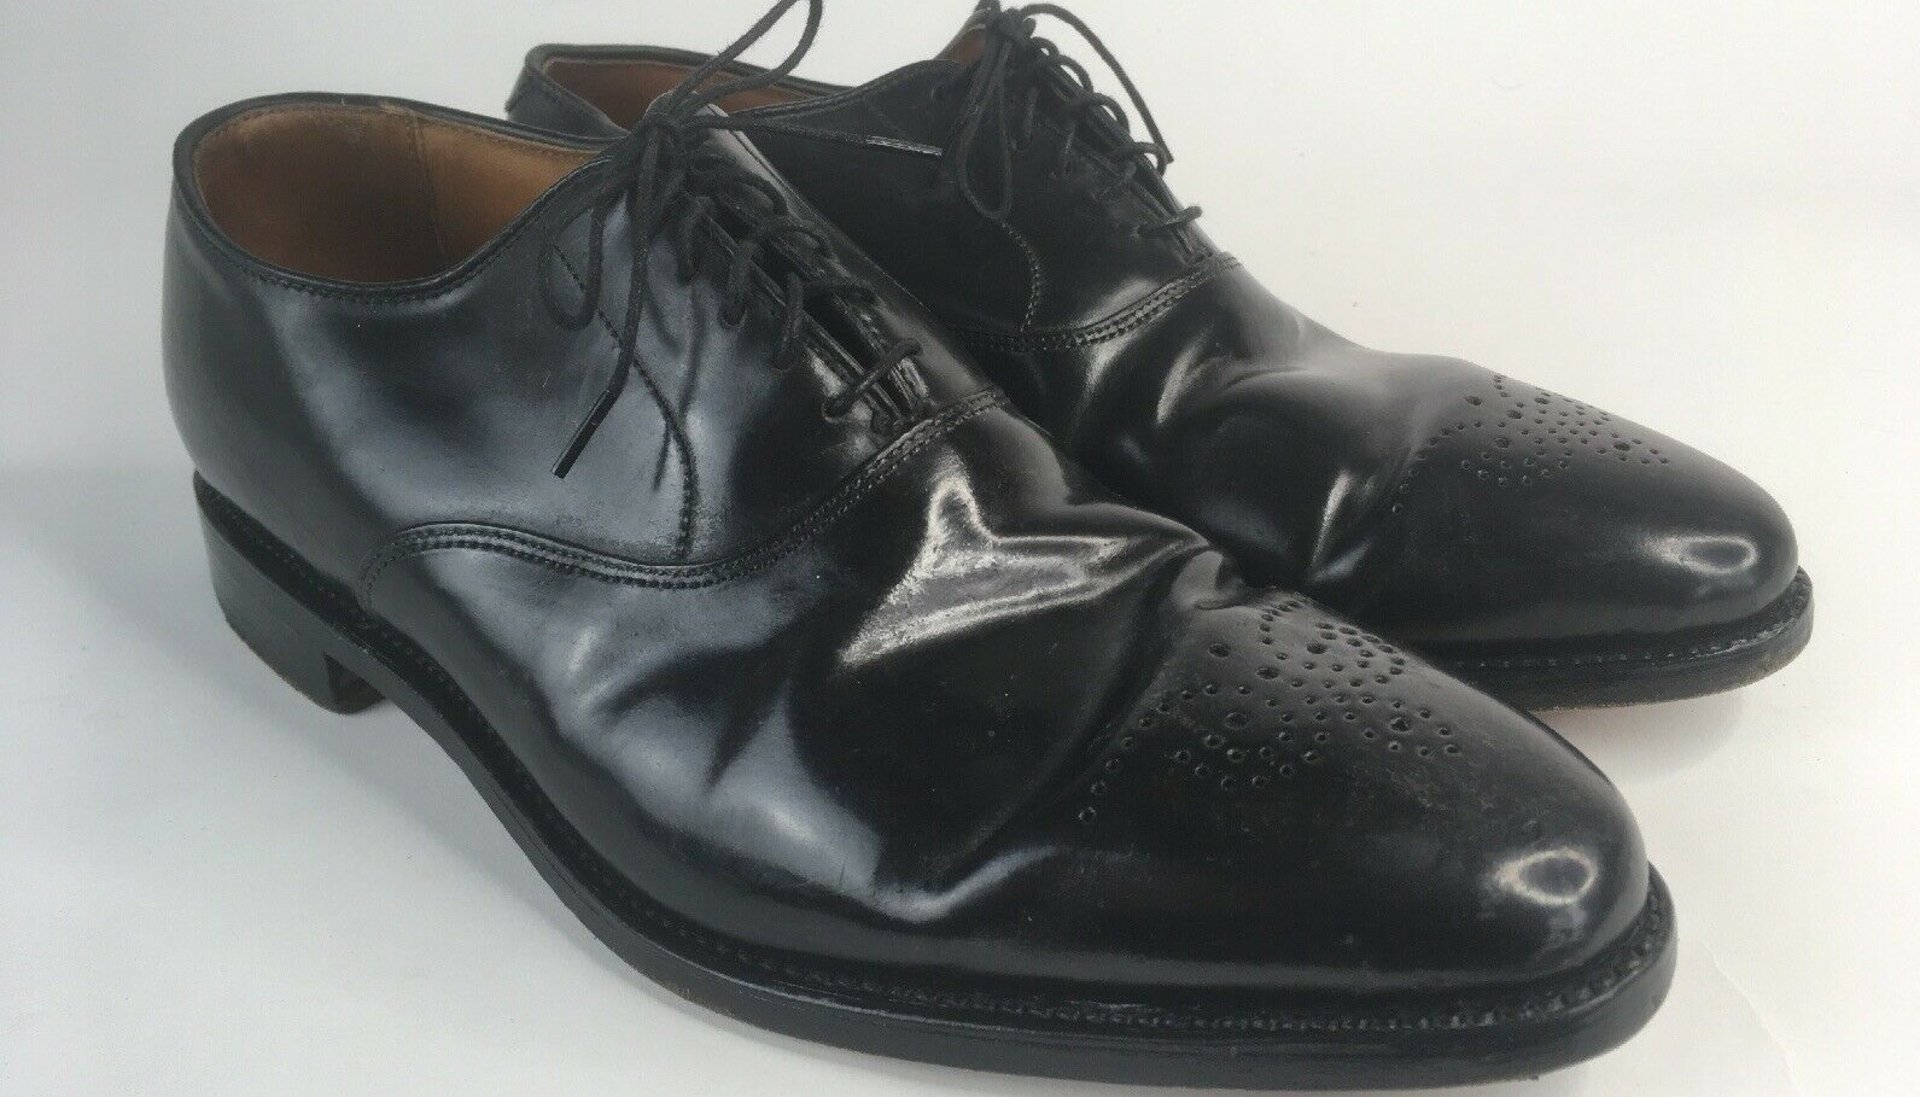
To reshape the pair, I found a shoe tree that fit the shoe well. I put a wet paper towel on the tree and inserted it into the shoe.

I left the tree in the pair for a couple days to allow it to dry. It dried at room temperature. I did not use any heat source to quicken the process.
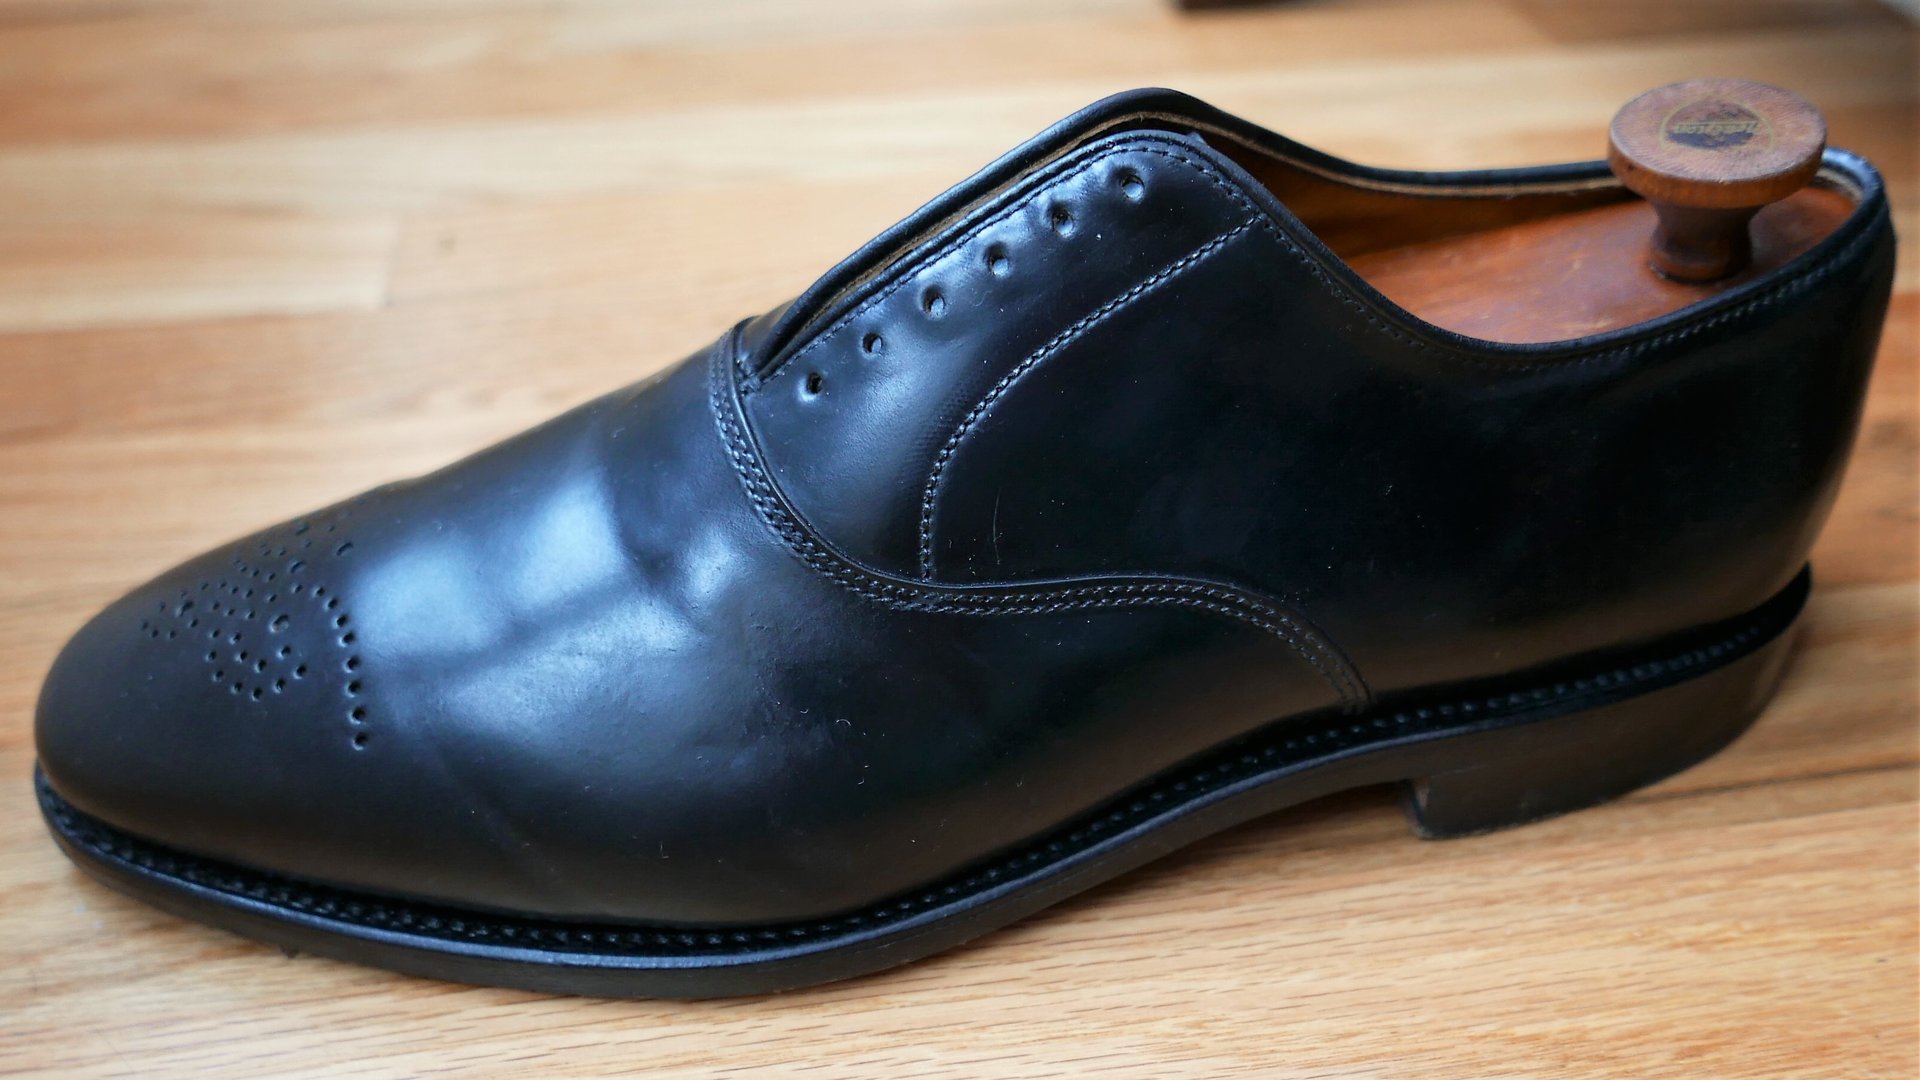
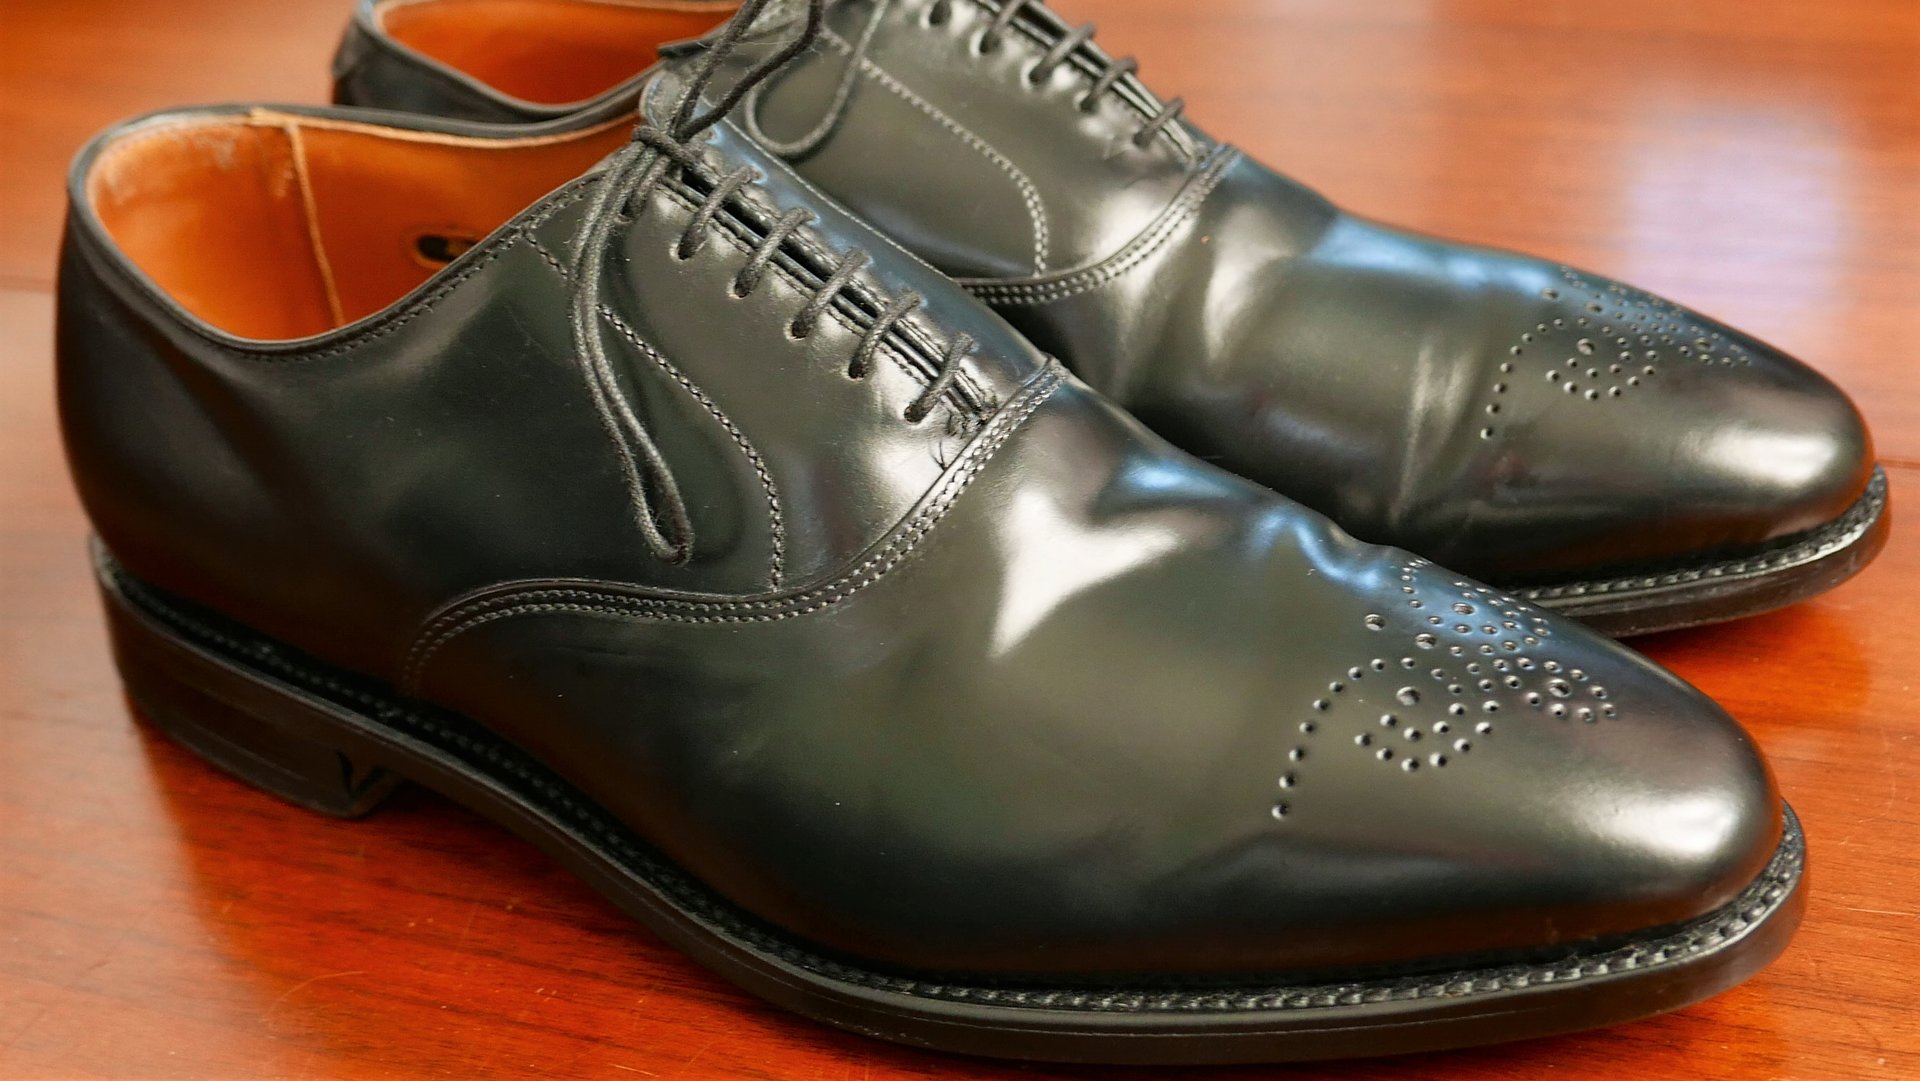
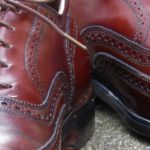
After the shoe was dry, I wiped the interior with an alcohol wipe. Once polished, the shoes looked good. This is a photo of the finished pair without shoe trees.
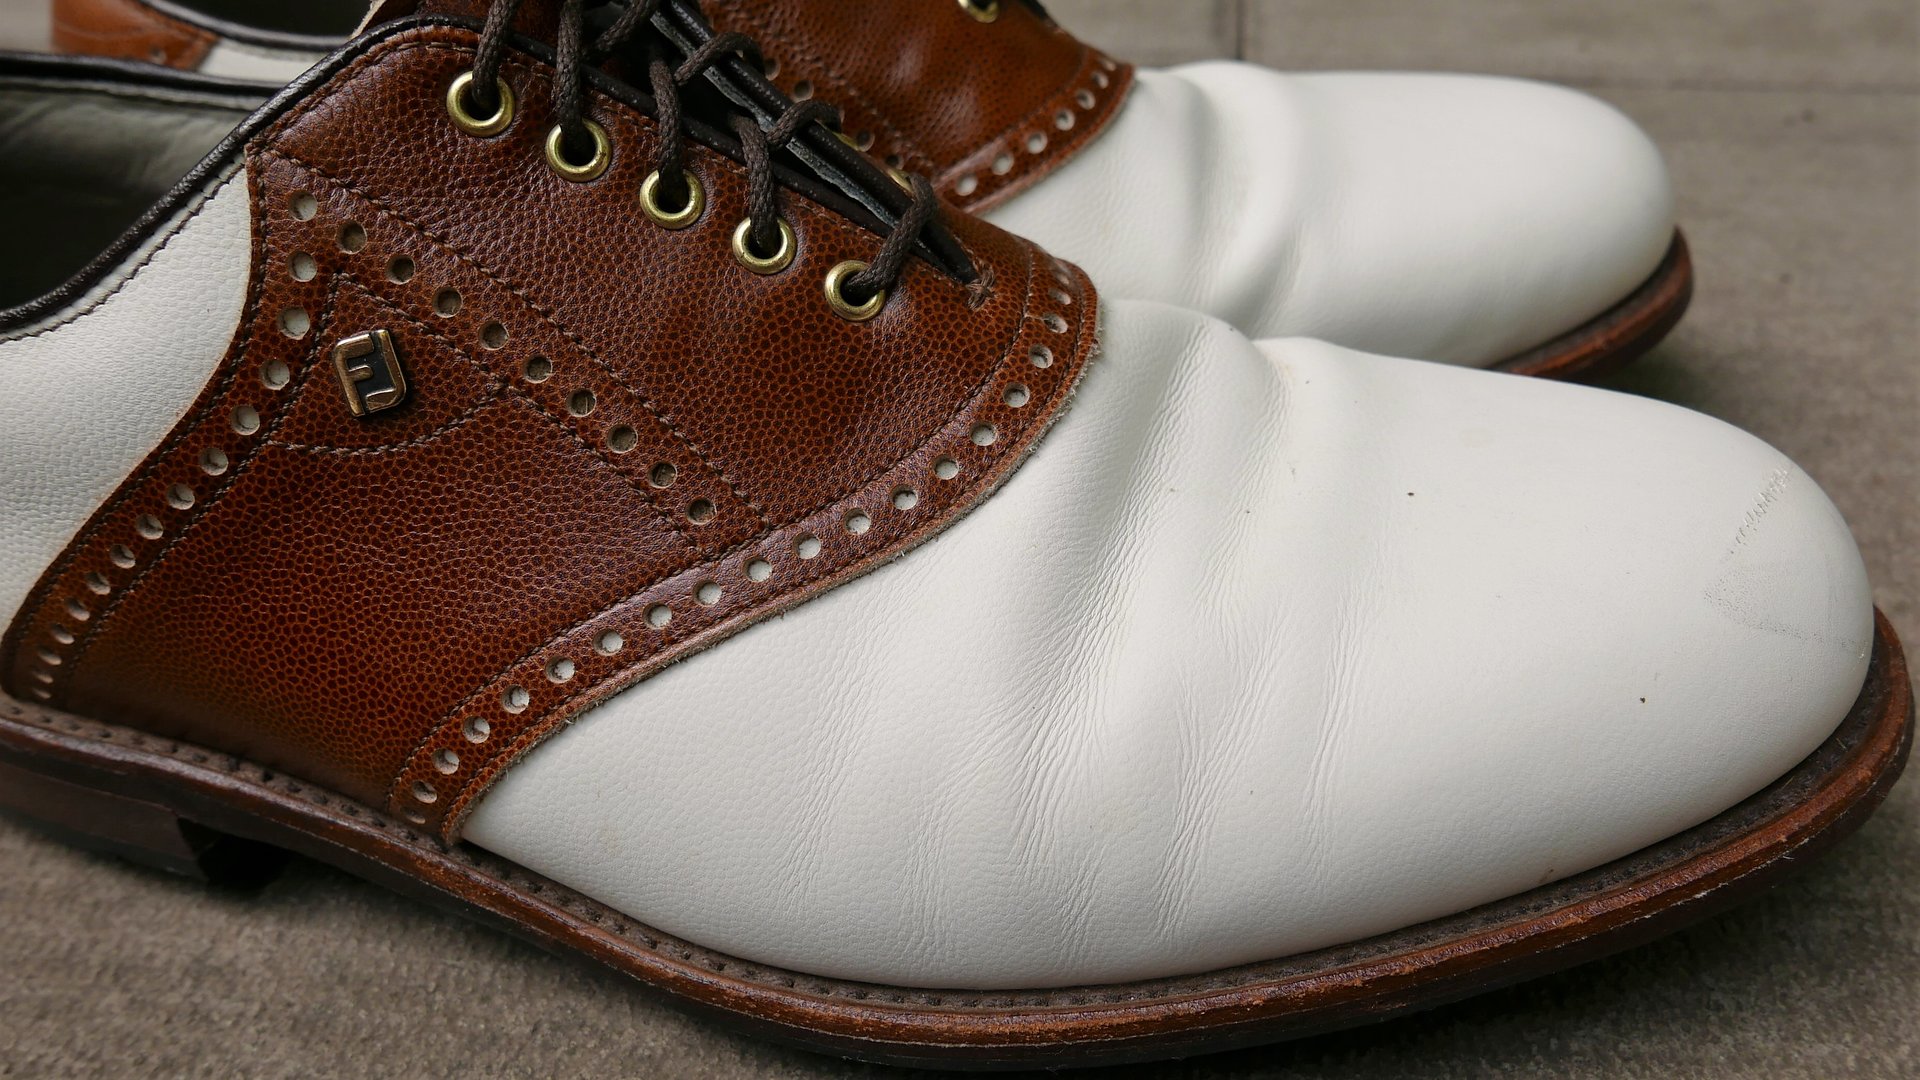
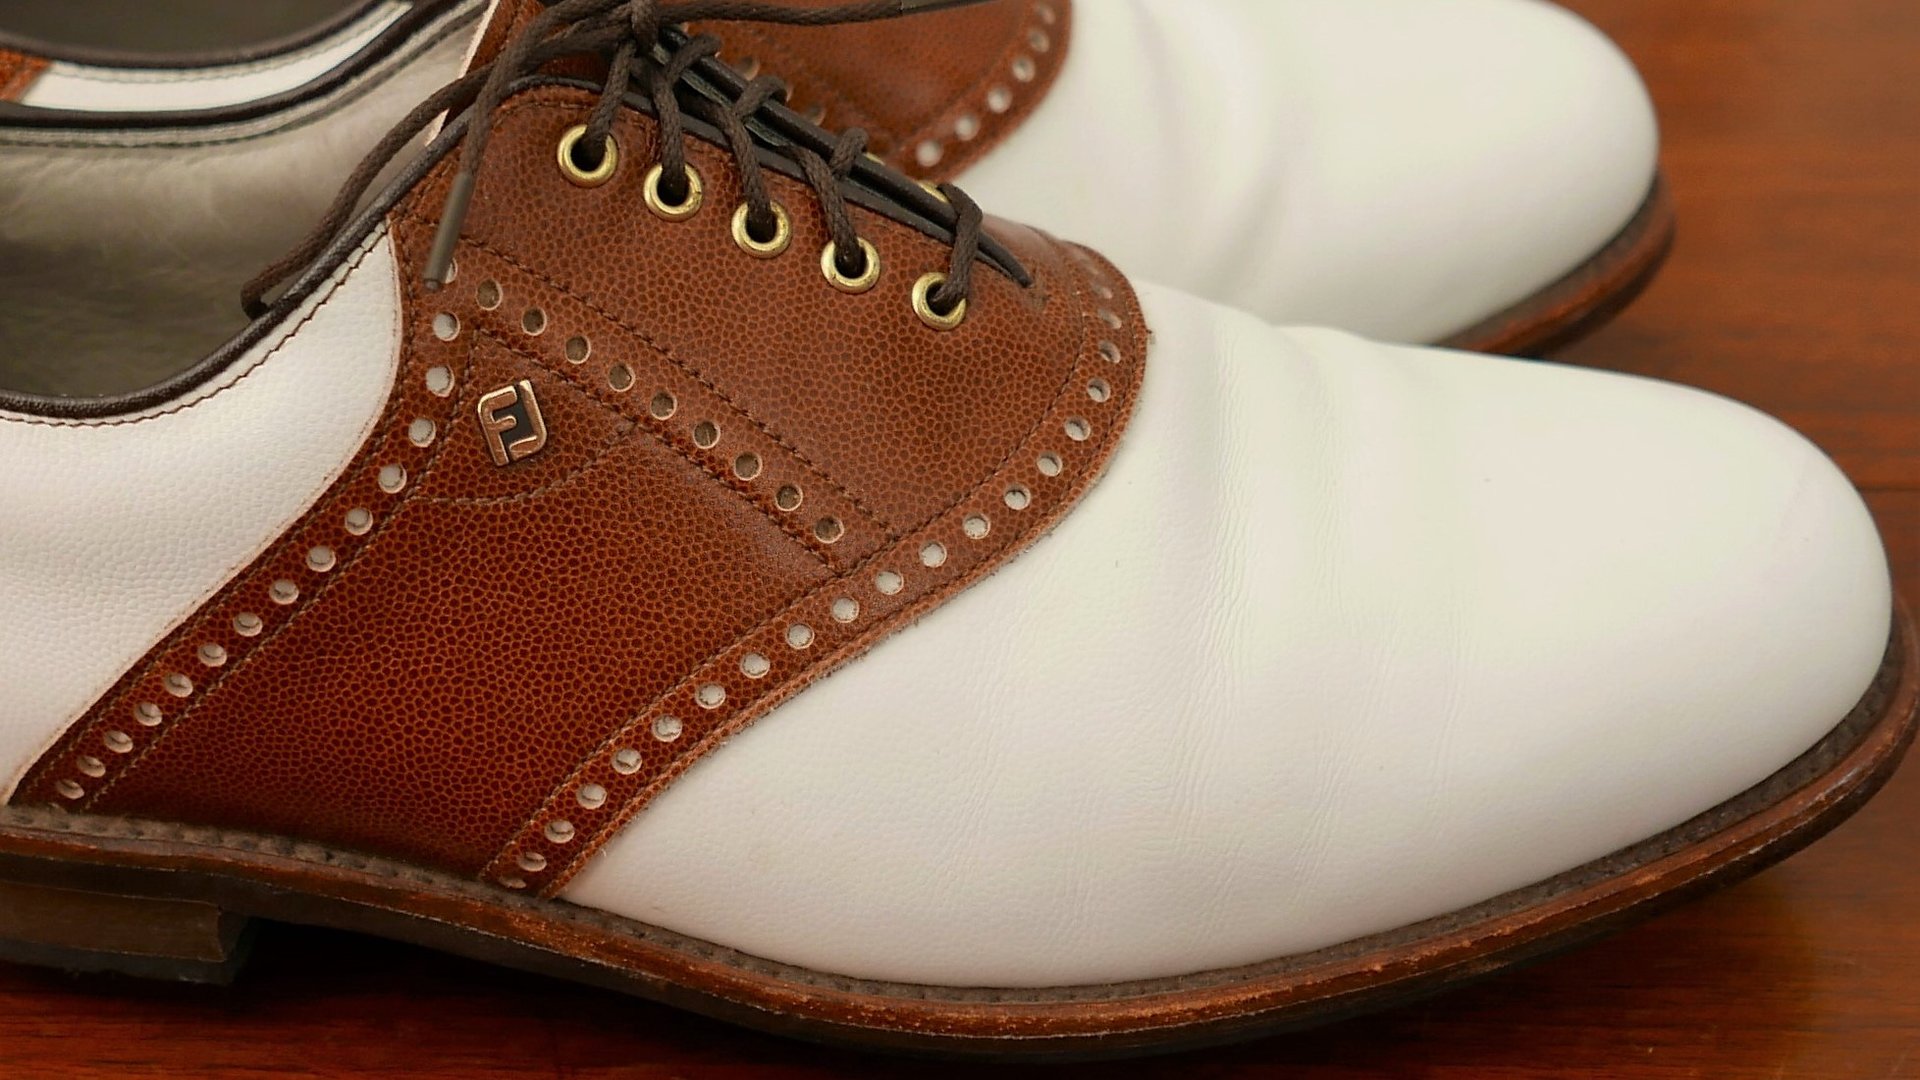
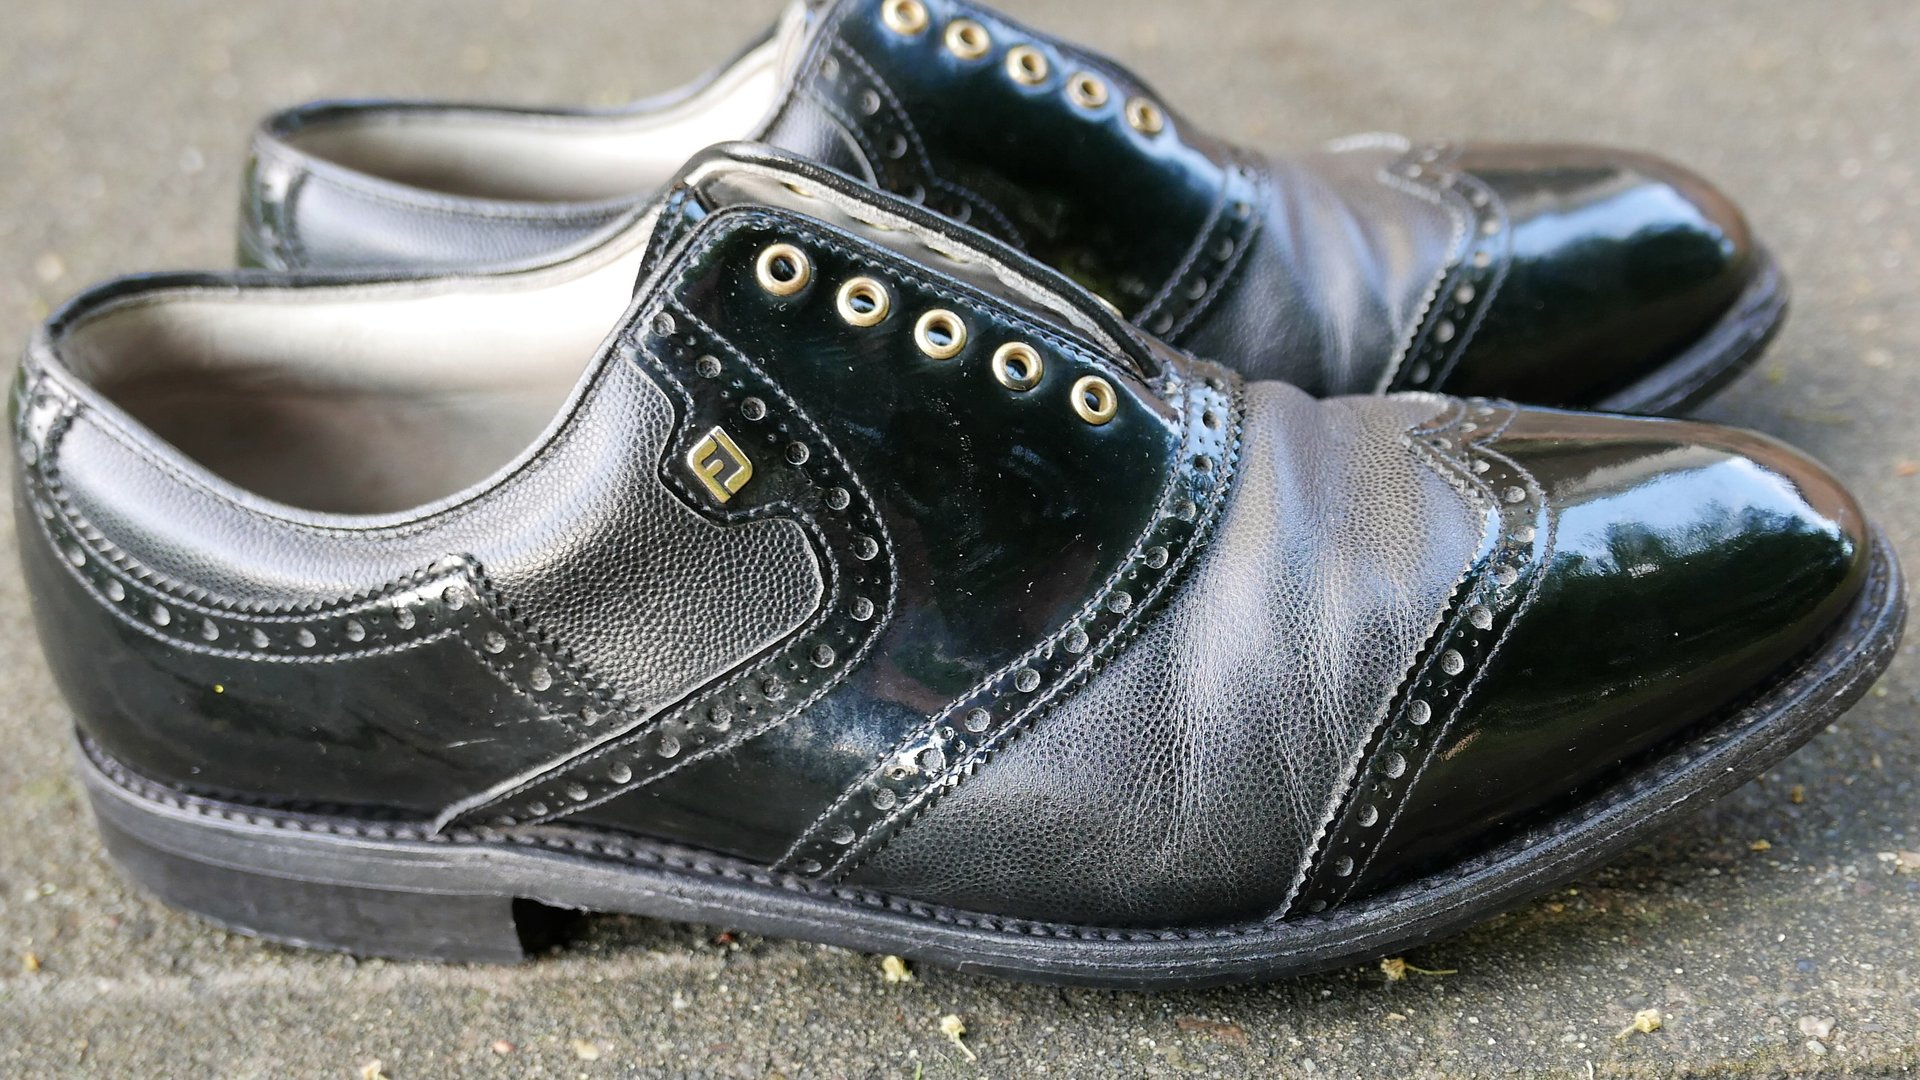
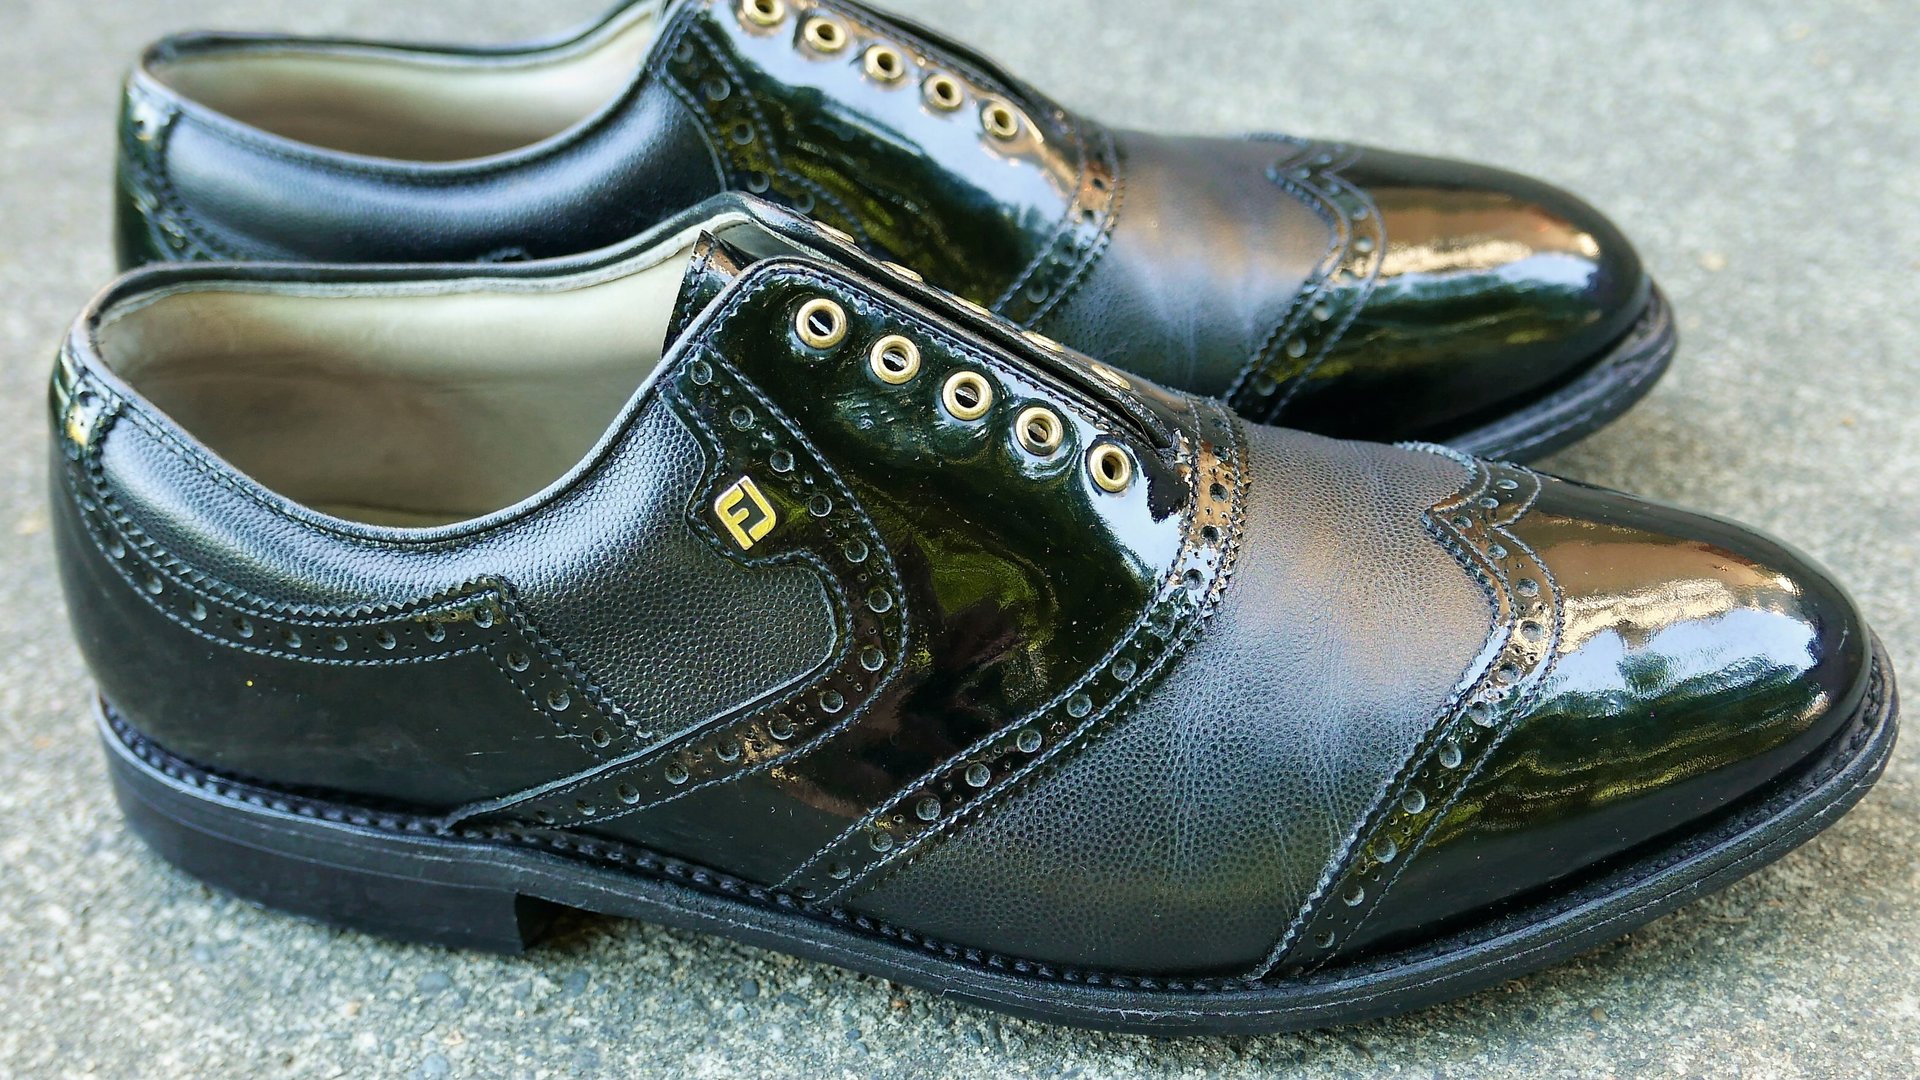
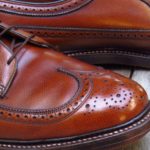
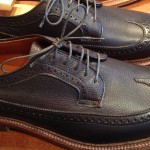
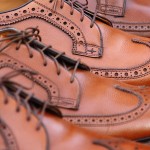
Below are before and after shots of a couple pairs of FootJoy Classics golf shoes that received the same treatment. They weren’t as misshapen but the creases in both pair lessened considerably once the process was complete. While treating these pairs, I massaged the vamp leather briefly with my thumbs and a small amount of Bick 4 to help loosen up the creases.
If you have shoes with creasing or shape issues, I recommend you give this process a try. It’s easy and it has produced good results for me. You can expect some creases to return once worn because wearing your shoes causes wear on your shoes. Obviously. But with the use of shoe trees and occasional conditioning, your shoes should look good for years.

Thanks for another great post. I very much enjoy the hobby.
Consistent use of trees are the solution. I believe most of the problem is driven from the bottom up, not top down, i.e., not if, but when the soles get wet, they will curl, causing the uppers to distort faster and more noticeably. By treeing immediately, and storing them on a flat surface, not just tossed into the closet, the soles are kept relatively flat while they dry, making maintenance of the uppers fairly routine.
Wouldn’t it take more than 2 days for the paper towel to dry when pressed between the leather upper and the shoe tree? It makes me think it would get moldy.
The towel was mostly dry after two days. The leather absorbs some of the moisture. So does the shoe tree. The rest evaporates.
I didn’t see any issues with mold. Its not much water.
How wet was the paper towel? Did you wring it out or put in well saturated?
I would categorize the towel as wet. Not damp and not soaked.
I tried this same approach on some MTO Allen Edmonds White PTBs which had an odd quarter size dimple on the vamp. It worked wonders and the shoes look great now. Thanks David!
Thanks. Glad it worked
David, I want to thank you for your article. I also followed the guidance for the setup of the “towel as wet, not damp, and not soaked.” I came out a few days later with perfect results. Thank you again for your post.
Glad it worked!
David, great article as ever.
Would it be worthwhile resetting the crease using a pen or similar after doing this? I have seen this recommended for new shell shoes but have never tried it yet.
I have a pair of shell wingtips which had minimal wear when I got them but whilst one shoe has barely any creasing the other does have one fairly deep crease.
I was thinking about trying it with the more creased shoe.
My experience has been once the leather creases, the creases can be minimized but they never fully go away. If the shoe is new, then precreasing will work. But I haven’t been able to change the crease points in the flex areas once the crease has already been set.
Thanks, I thought that would most likely be the case. I might try and minimise it anyway.
Have you ever tried setting the creases on new shell?
I have but haven’t been successful. The leather did what it wanted to do.
For the life of me, I don’t know how you get the wet towel on the tree to insert cleanly into the shoe. Perhaps a clean, snug fitting athletic sock on the tree with the instep side dampened?
What would work. You just want some moisture in the shoe. Not too much though.